1. Run the PuTTY4JSK-setup wizard from our website: https://shopkeeper.co.za/download/PuTTY4JSK-setup.exe assuring Windows that you can trust this program as necessary.
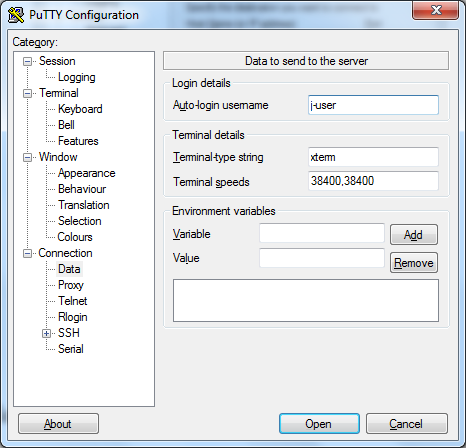
2. In the PuTTY Configuration dialog box that opens up, click on the word 'Data' on the left and type your user account name (e.g. j-user) in the 'Auto-login username' field at the top right.
3. Click on the word 'Session' at the top left.
4. Type in your 'Host Name (or IP address)' in the field provided at the top right, (e.g. jeweller.myjsk.net) and the port number (e.g. 11660).
5. Type "jsk" into the empty field below the words 'Saved Sessions' and then click on 'Save'

6. Click on 'Open'. You should get an SSH security alert the first time you connect to the server. Click 'Yes' or 'Accept' to accept the new security key.
The red short-cut icon on the Desktop labelled 'myJSK' should now take you straight to the login password prompt.
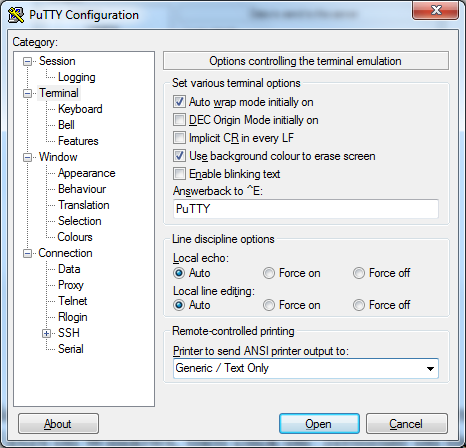
To connect a label or dot matrix printer (not laser or ink jet), first ensure that the printer is installed as a 'Generic / Text Only' printer in Devices and Printers on Windows.
a) Control-Rightclick on the PuTTY terminal window. This should pop up a list of options. Half-way down the list, click on 'Change settings'. This brings up the PuTTY Re-configuration' dialog box.
b) Click on the word 'Terminal' on the left, and select the printer at the bottom on the right using the drop down list by 'Printer to send ANSI printer output to:'.
c) Click on the word 'Session' at the top left and then click on the saved session 'jsk' to highlight it.
d) Click on 'Save'.
e) Click on 'Apply'. (If you want to make the printer change effective for the current session only, skip steps c) and d) and simply click Apply after selecting the printer..